Setting a Source Loan Folder
Source loan folders are where Processor's Toolkit (PTK) searches for loan folders. The designed workflow is for a parent loan folder to contain subfolders, one for each active transaction. For example a folder named "Smith" inside of "Loans" inside of "My Documents", with the loan's folder named by the last name of the primary borrower. So a hierarchy might look like "C:\Users\[your name]\Documents\Loans\Smith" or "C:\Users\[your name]\Documents\Loans\Doe, John". The exact structure will vary by operating system. Folders starting with a period ( . ) or underscore ( _ ) are ignored by PTK, which allows for special folders such as "_Cancelled" or "_Closed".
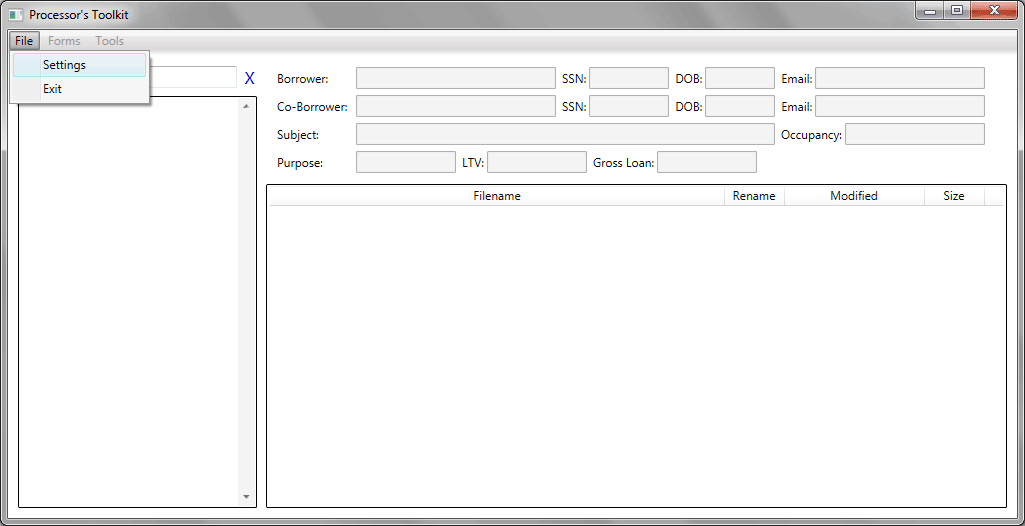
Step 1
Begin by clicking "File" at the main menu, then clicking "Settings".
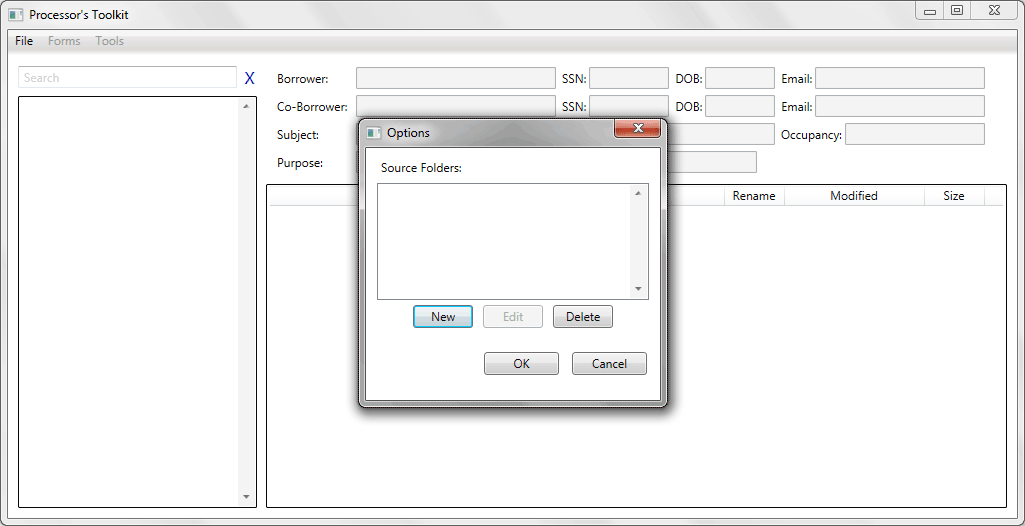
Step 2
The Settings window will open. Click the "New" button to add a source folder.
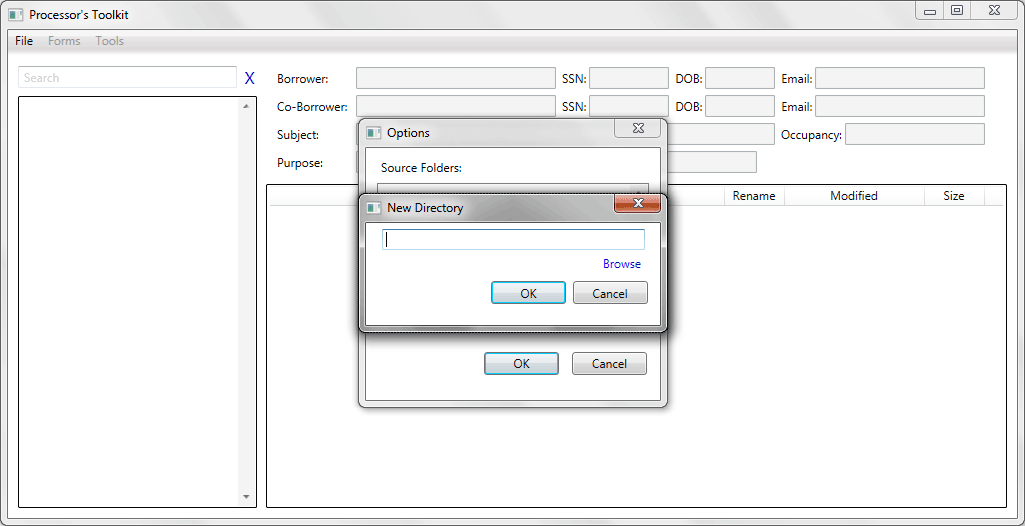
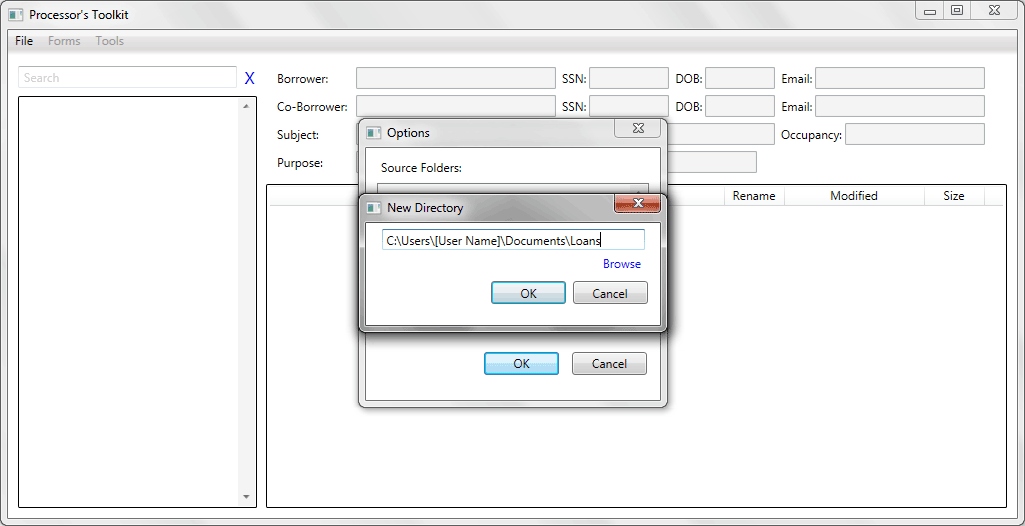
Step 3
The resulting window will request a directory. If you already know the folder location, enter it here. Otherwise, click "Browse".
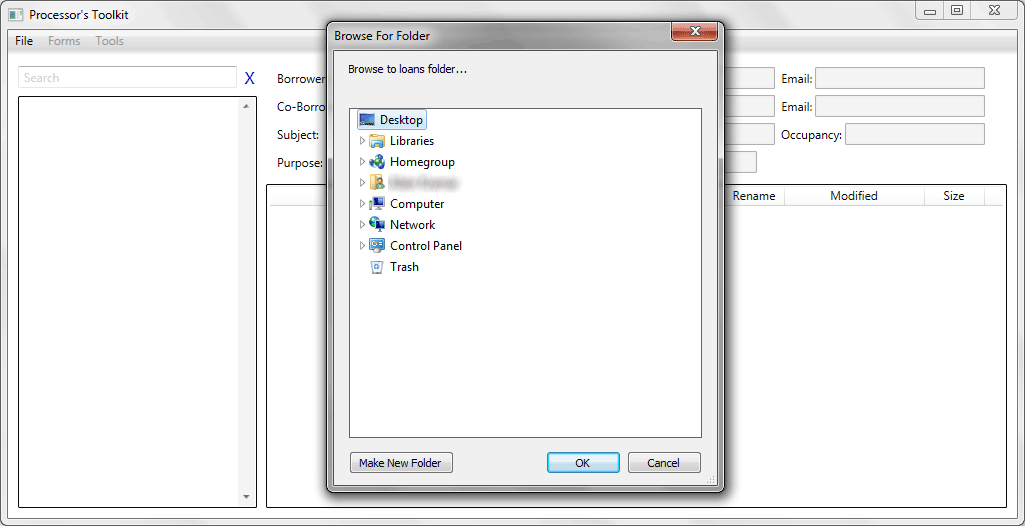
Step 4
A folder browser dialog will open. Navigate to the desired source folder, where all your transaction folders are contained.
Step 5
After selecting the desired folder in Step 4, the previous window from Step 3 should fill in. Depending upon your source folder, it may look similar to the below image. Click "OK" to accept this folder choice. Click "OK" once more to save and close the "Settings" window.
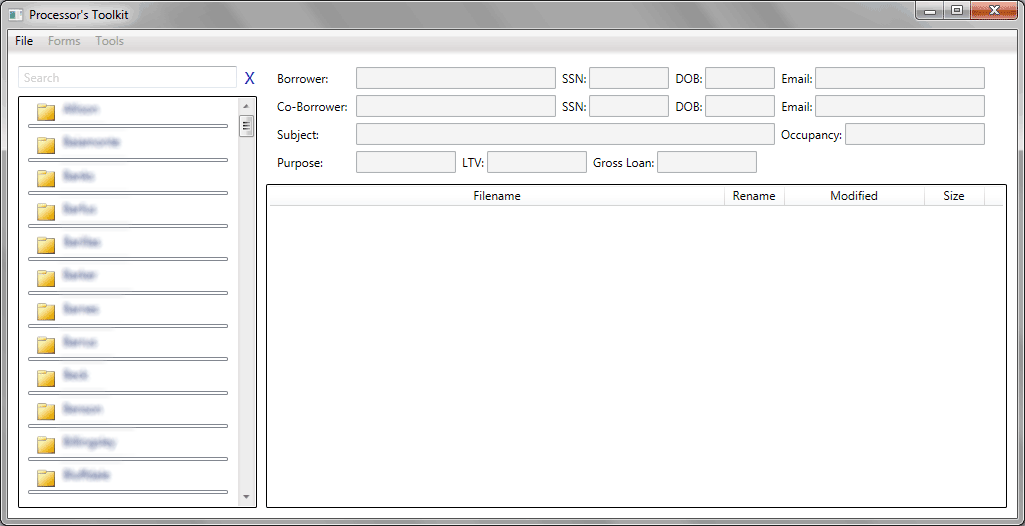
Step 6
Once saved and closed, PTK will load your source folder into the browser box, as shown below.
Editing a Source Folder
By following the same menu selection, File > Settings, you can edit a source folder. After following Step 1 and Step 2, select the source folder you wish to edit. Instead of clicking "New", this time click "Edit" and you'll be presented with the same windows as Steps 3, 4, and 5.
Deleting a Source Folder
Deleting a source folder is done by following the same method as Editing a Source Folder, except instead of clicking "New" or "Edit", simply click "Delete".